To get started, ensure you have an ISO of the version of Ubuntu you want to install. You will want to make sure you have copied the ISO into the Unraid ISO folder.
Unraid VM Config
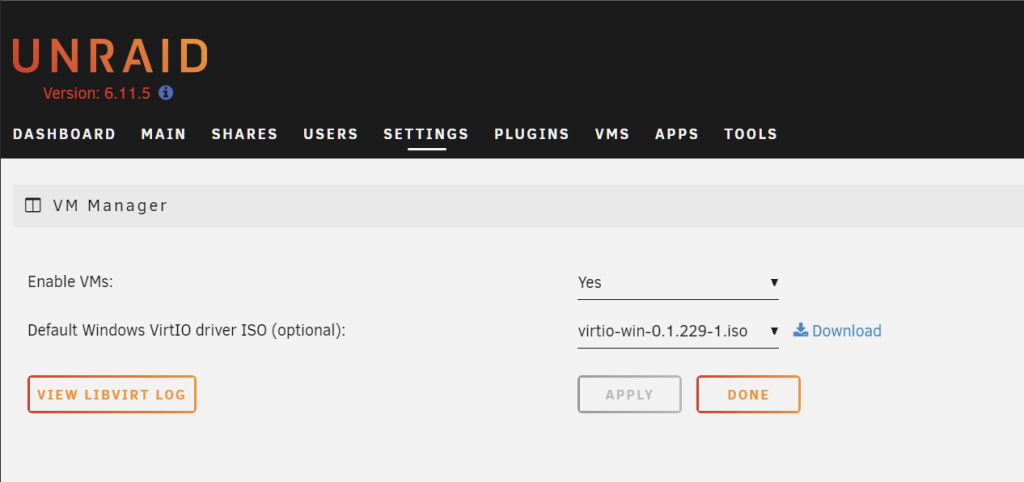
Make sure you have the VM feature enabled in Unraid.
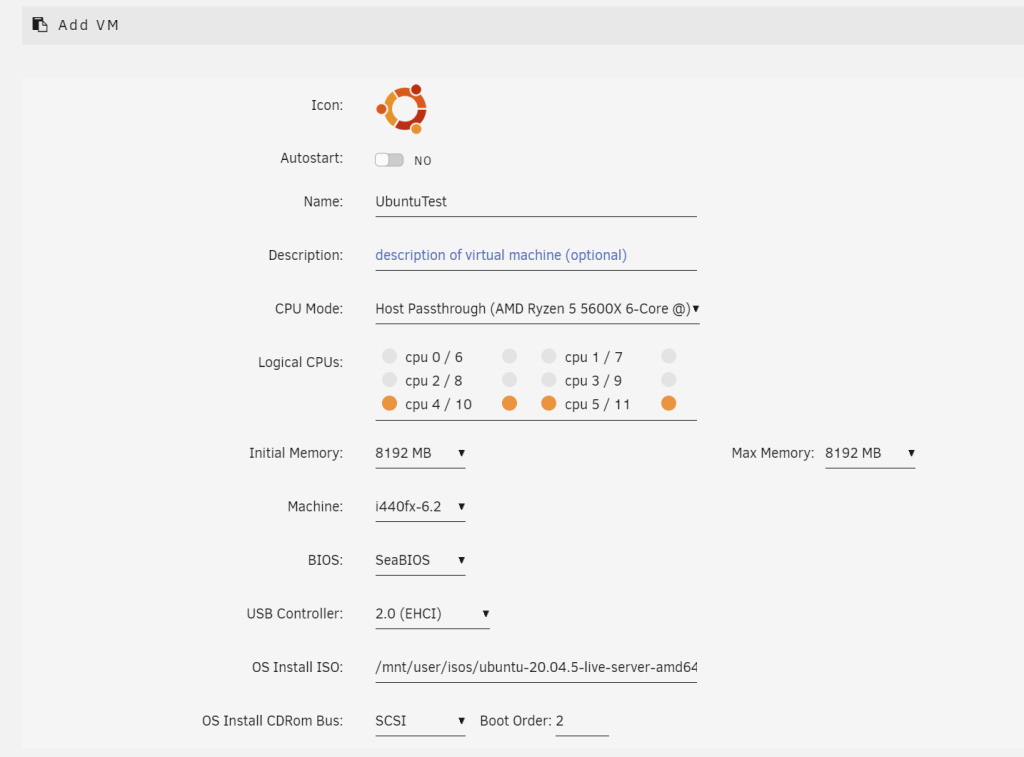
Navigate to the VM tab and select “ADD VM”
Select Ubuntu

Name the VM
Select which logical CPUs to use. I like to use a minimum of 4.
Specify the Initial Memory. I use a default of 8GB.
Set Machine to i440fx-6.2
Select SeaBIOS
Select OS Install ISO
Set OS Install CDRom Bus to SCSI
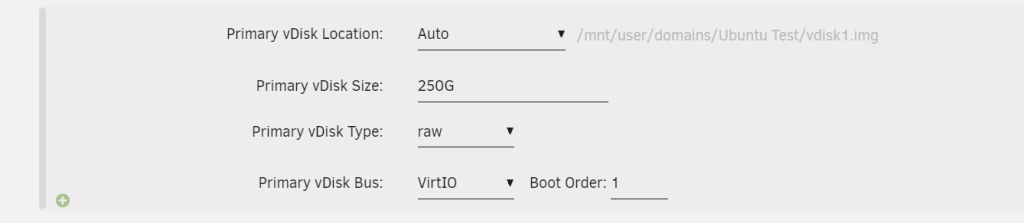
For the primary vDisk Location I use Auto for my test VM’s. You may want to use something different depending on your configuration. For instance, you could dedicate a single drive to the VM if necessary.
In my example, I set a disk size of 250GB. Unraid specifies that RAW & VirtIO provide the best performance.
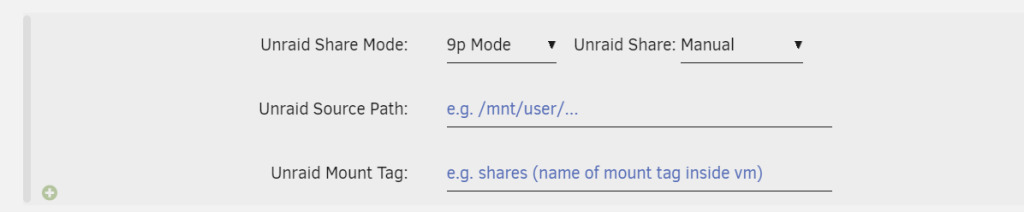
I don’t use the Unraid shares yet, but if desired, you could add a mapping in this next section.
For most of my servers, I use a Virtual graphics card. If you wanted to use the VM with a monitor/keyboard/mouse then you could select a graphics card to pass through to the VM.
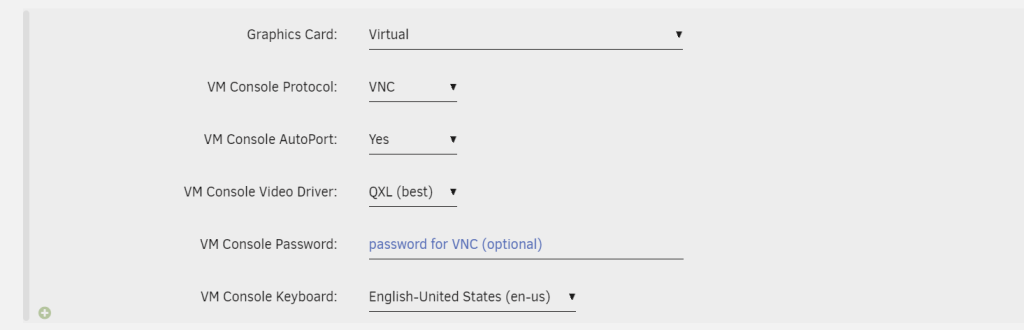
You could also pass through a sound card if necessary. Since this is a server, I don’t need any sound.

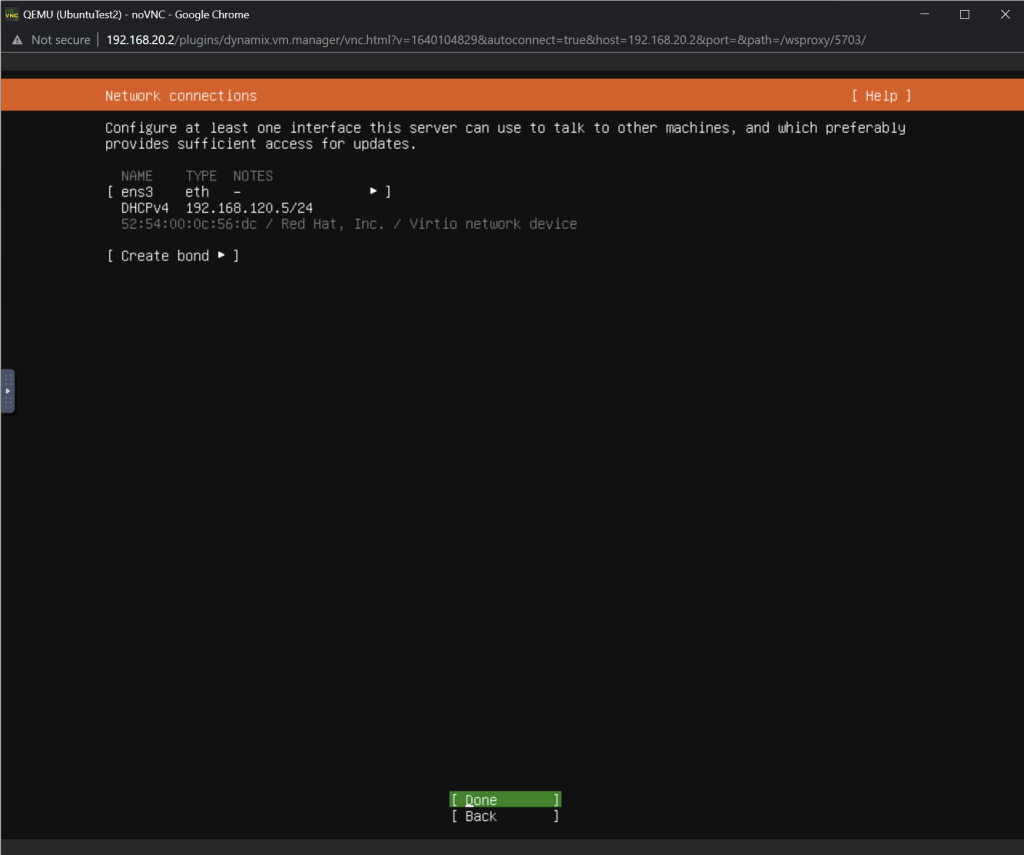
You can select the network bridge interface that the VM should use. I have a separate VLAN for my servers configured so I select that specific bridge. virtio-net is the recommended network model to use. It is specified that it provides the most stability and performance.

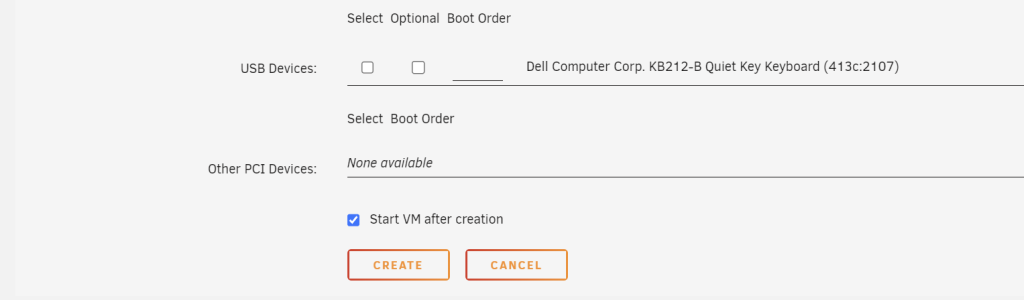
You can also decide if you want to start the VM immediately. Once ready to create and run the vm press “Create”.
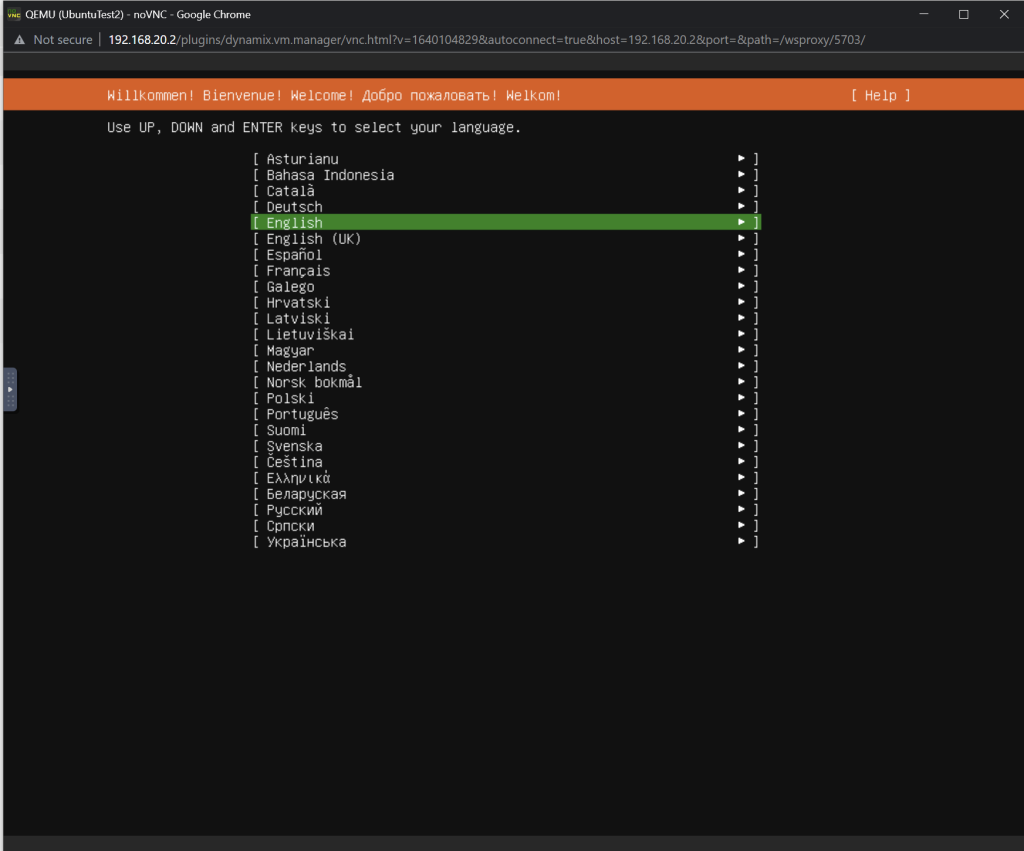
Once the VM starts, you should be able to access it through the web console and kick off the Ubuntu install.
Ubuntu Server Installation
Select your language.
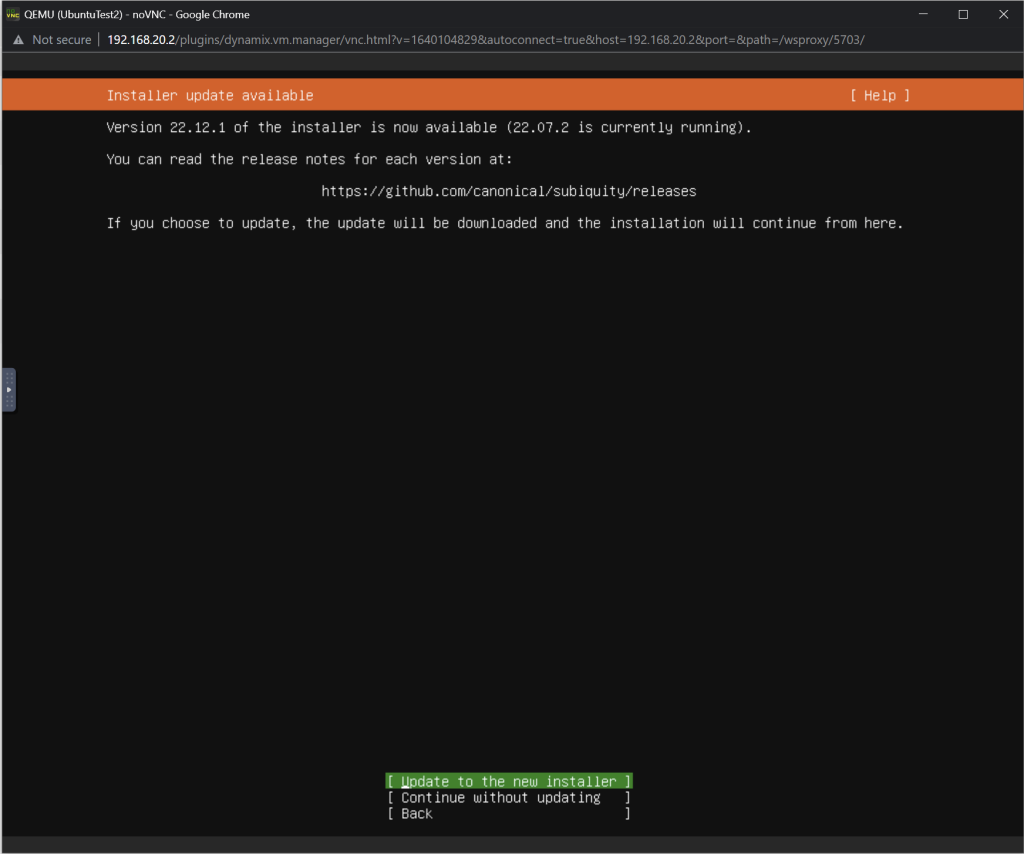
On the next screen, I recommend selecting “Continue to the new installer”.
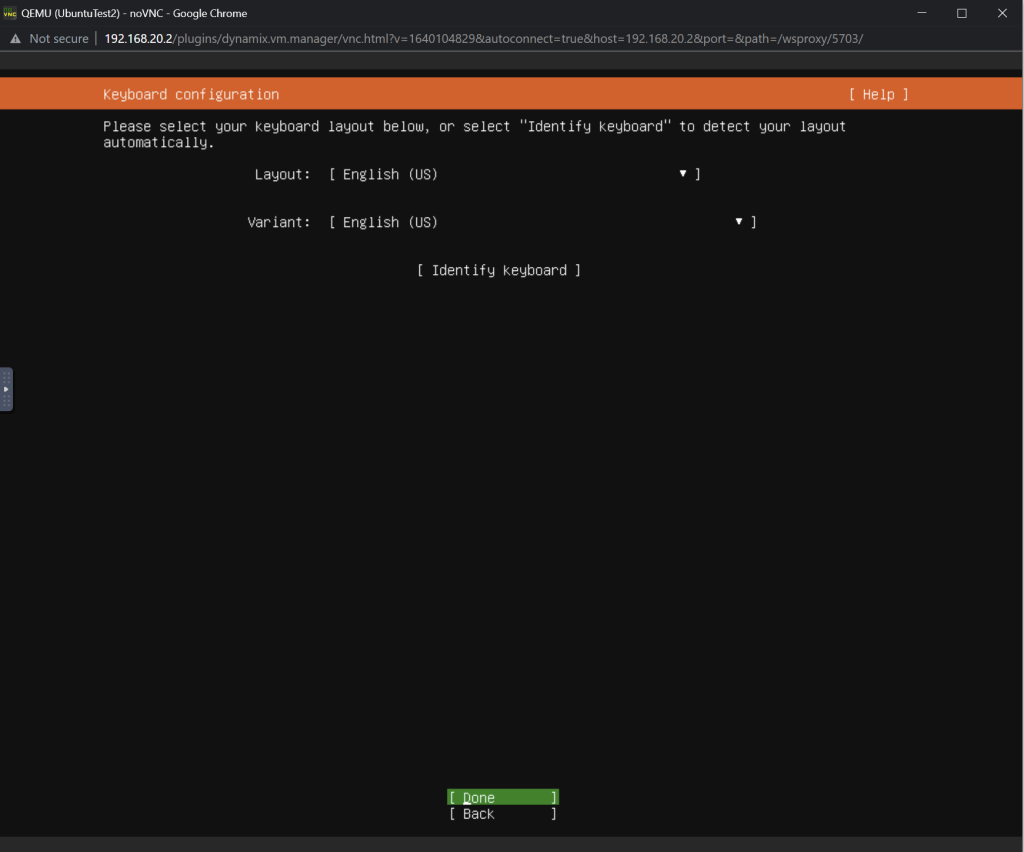
Select your keyboard configuration.
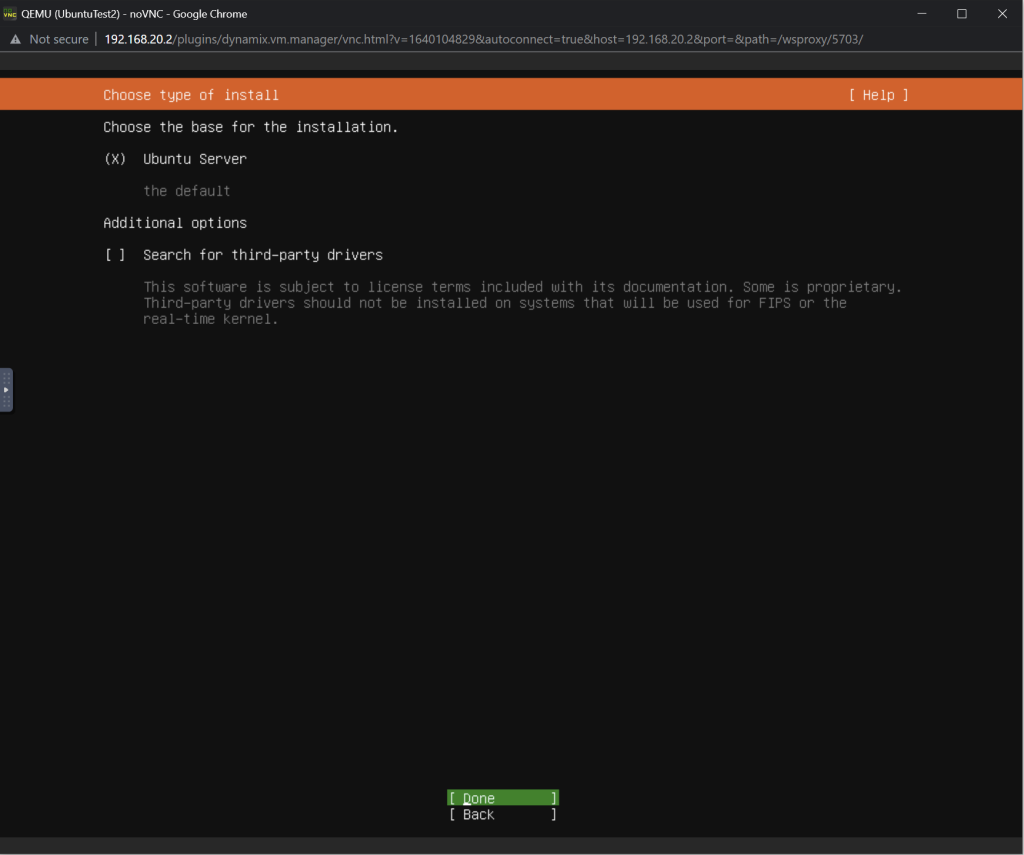
Choose the type of installation:
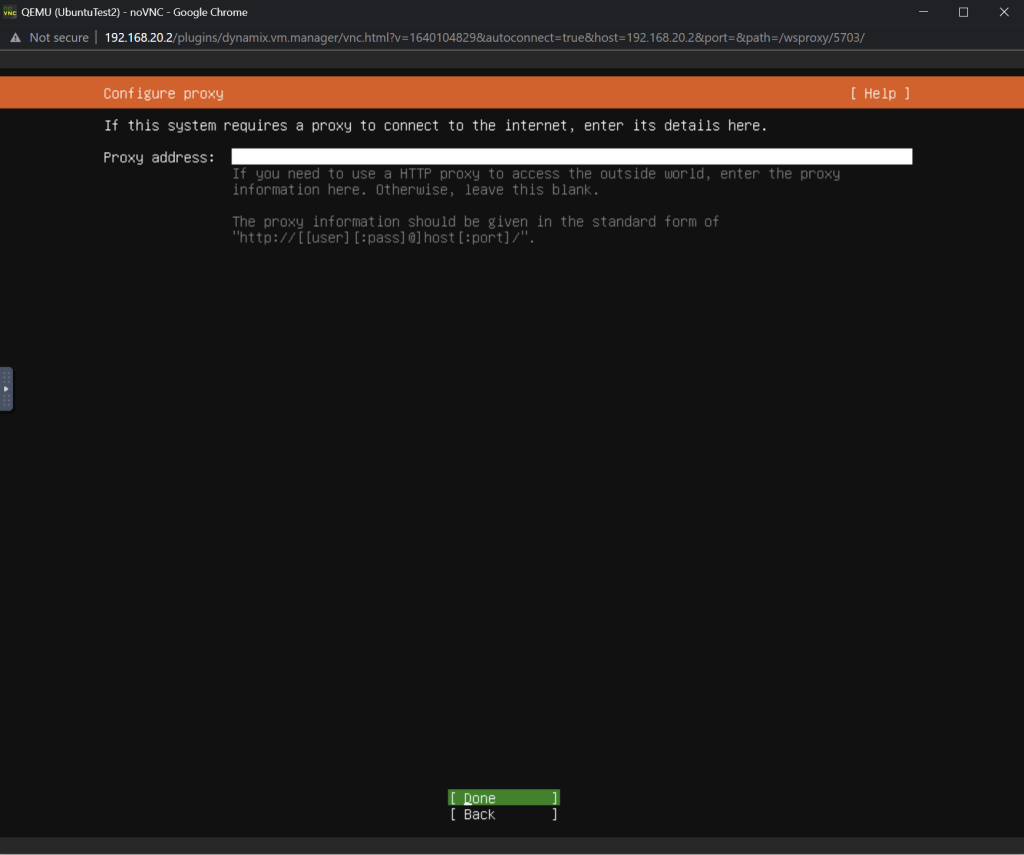
You can configure a proxy if necessary.
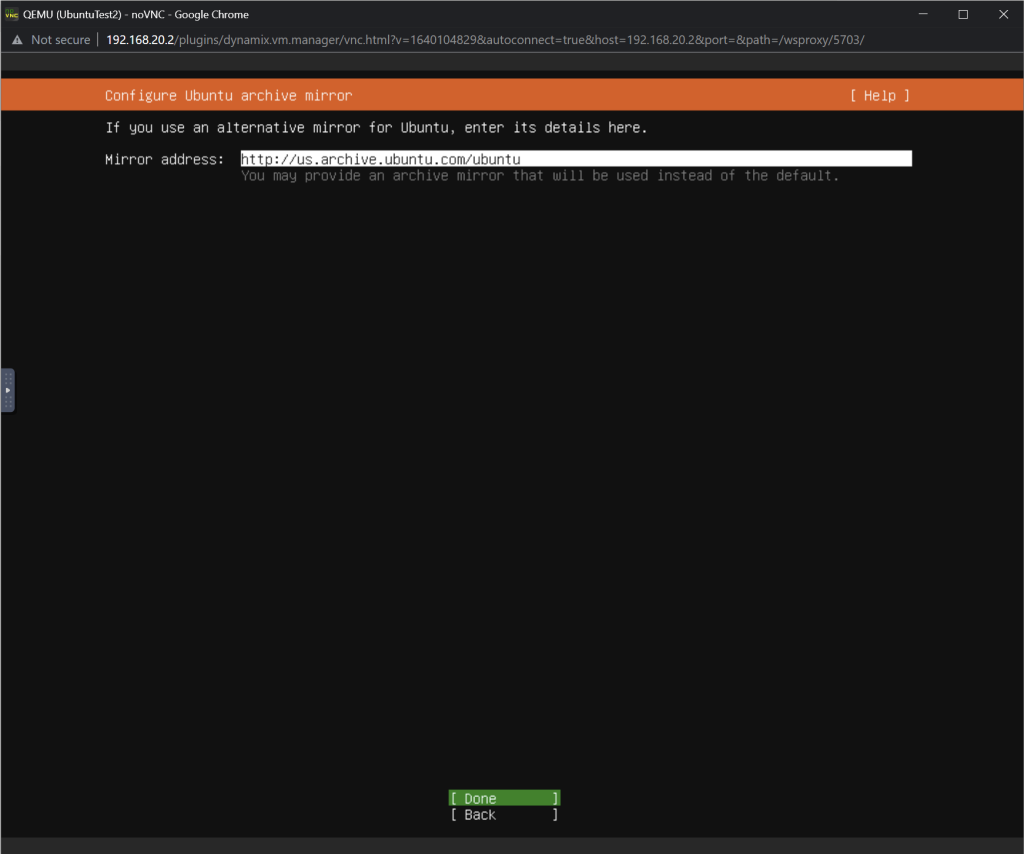
I use the default mirror.
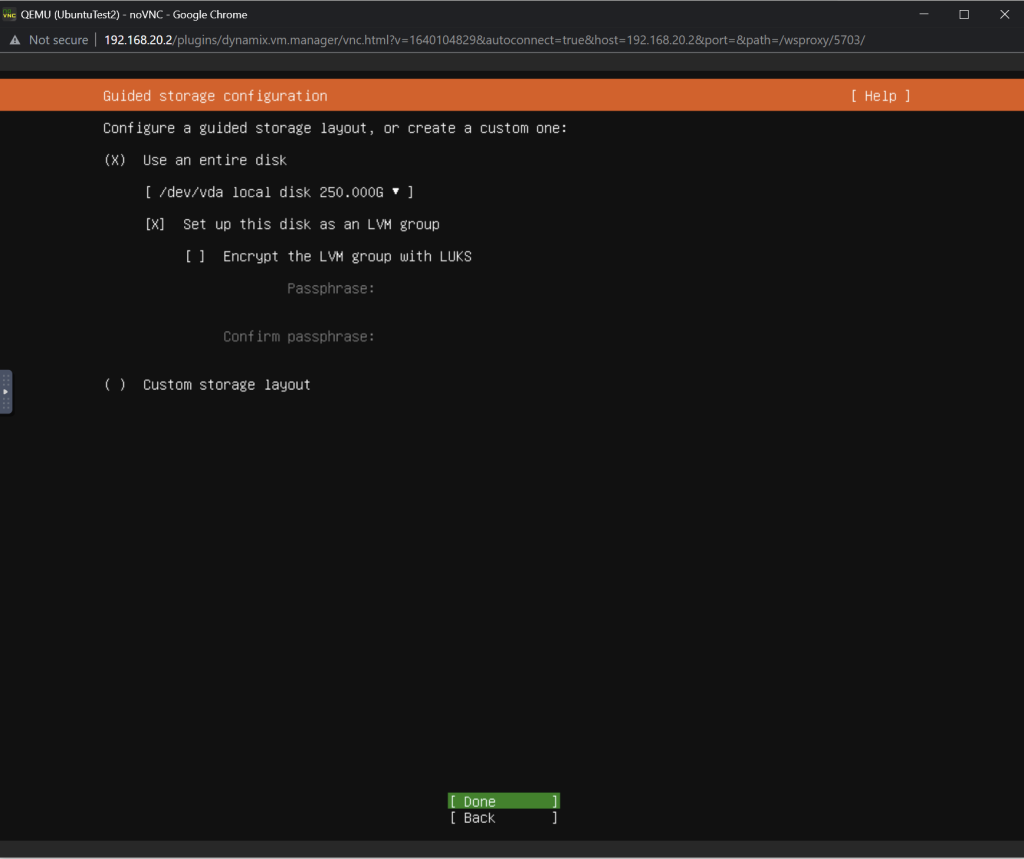
When configuring the file system partitions I will make sure to use the full size of the disk.
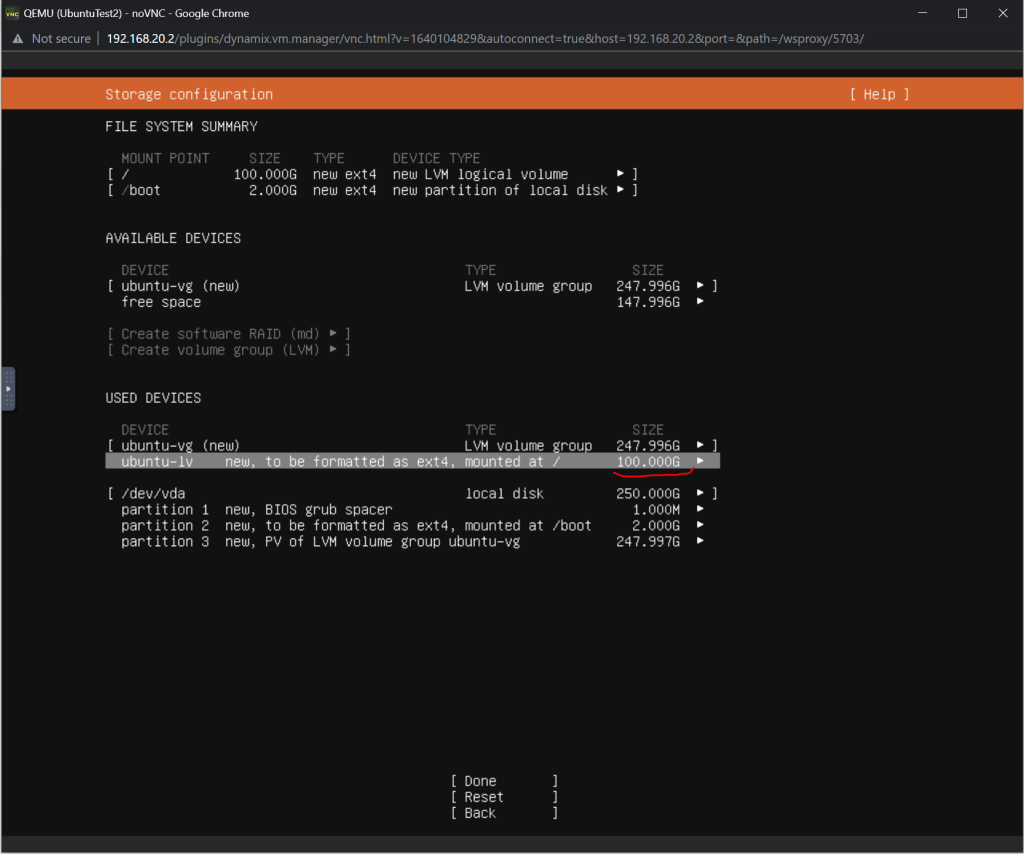
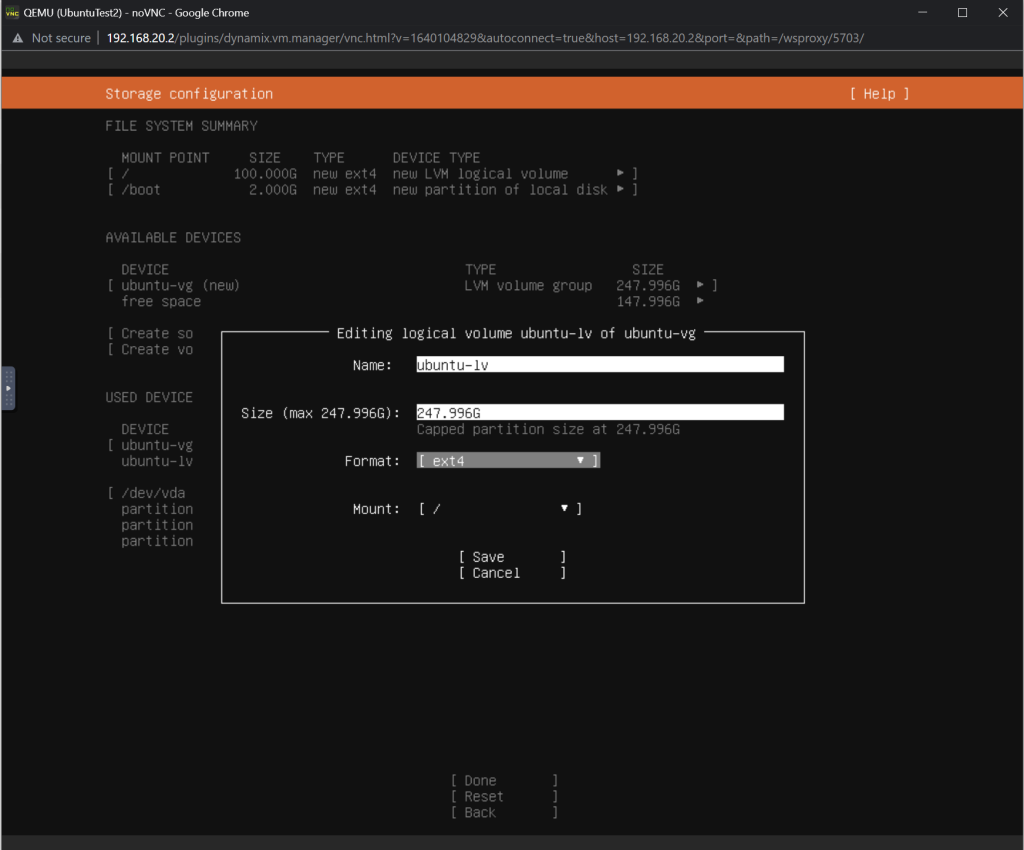
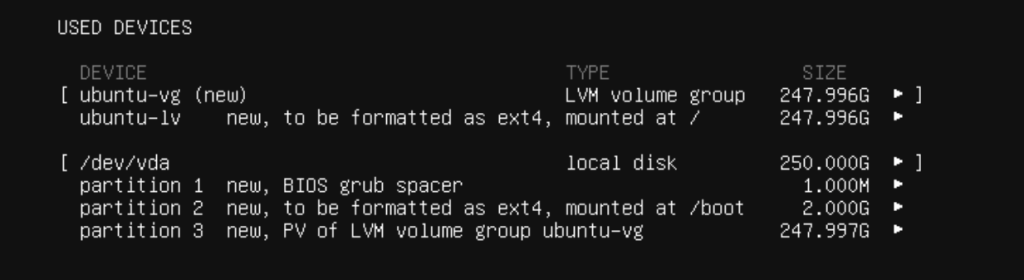
Once the disk partitions are configured you can select Done. You will then be prompted to confirm if you want to continue with the installation. Select continue.

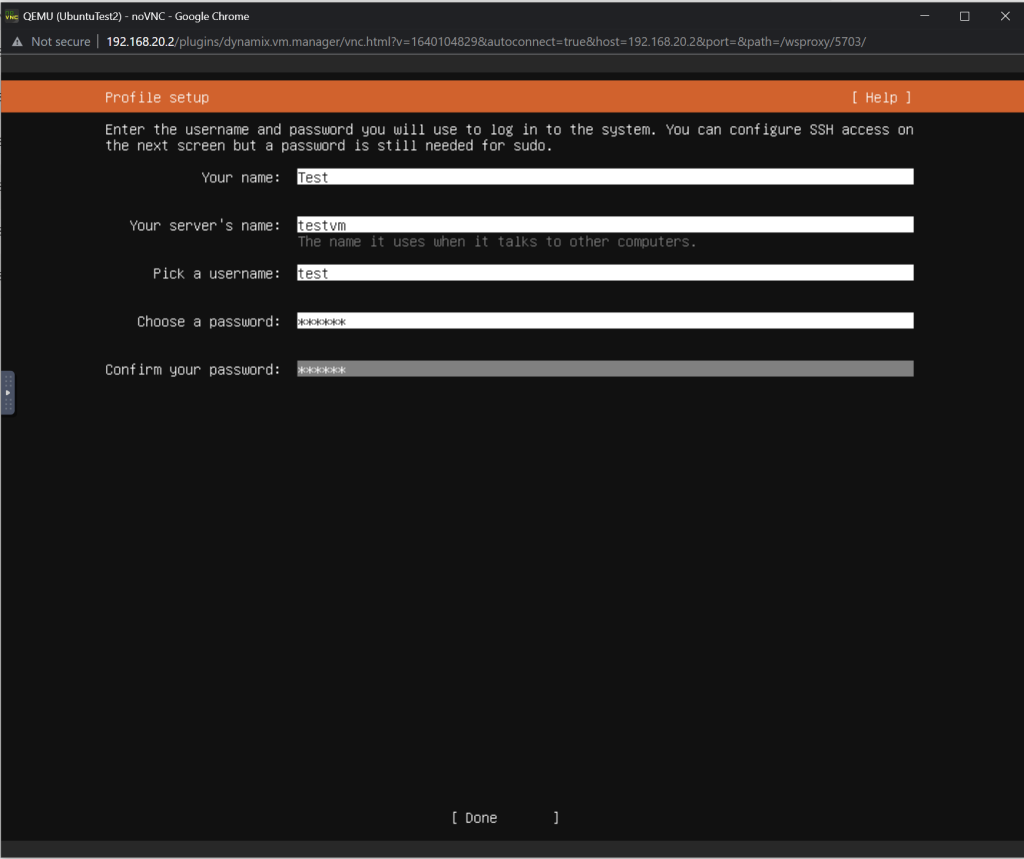
One of the last steps is to configure some basic information like your desired username.
Enter your profile name then pick a server name and finally enter a username and password to use after installation.
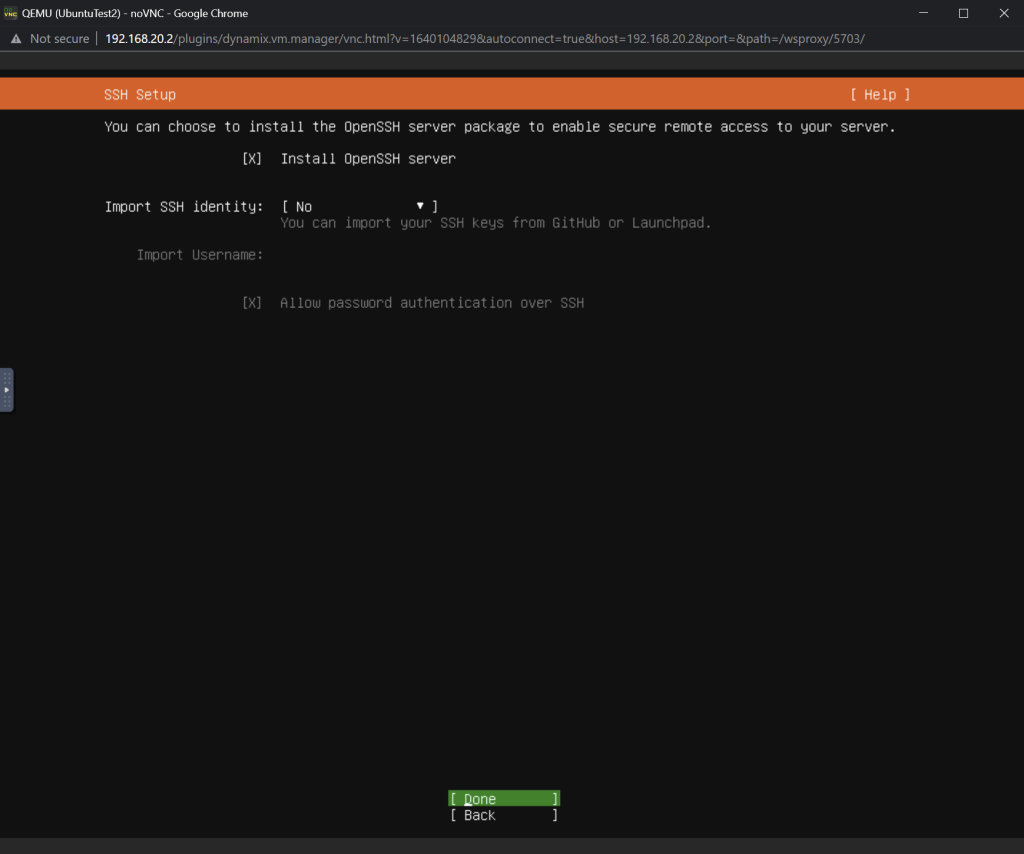
Select if you would like to install SSH or not. I will usually install SSH and then switch over to Putty after the installation is complete.
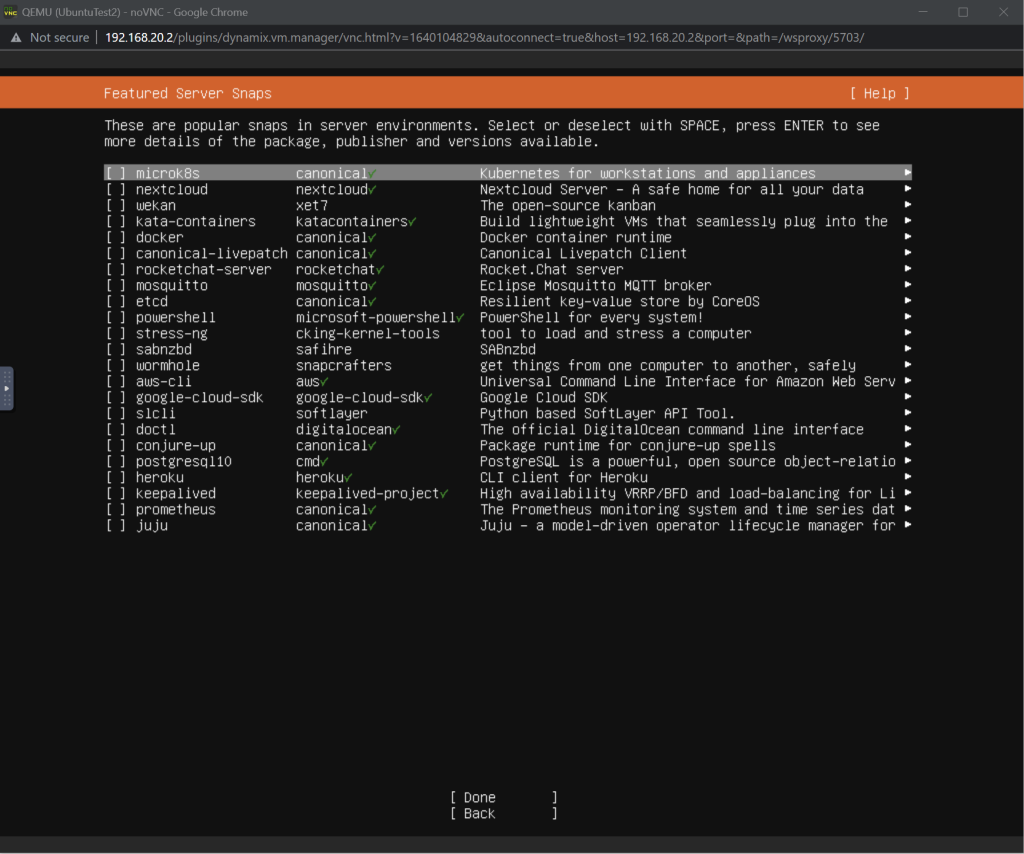
Select which server snaps you want to be installed. The installation starts once you select Done.
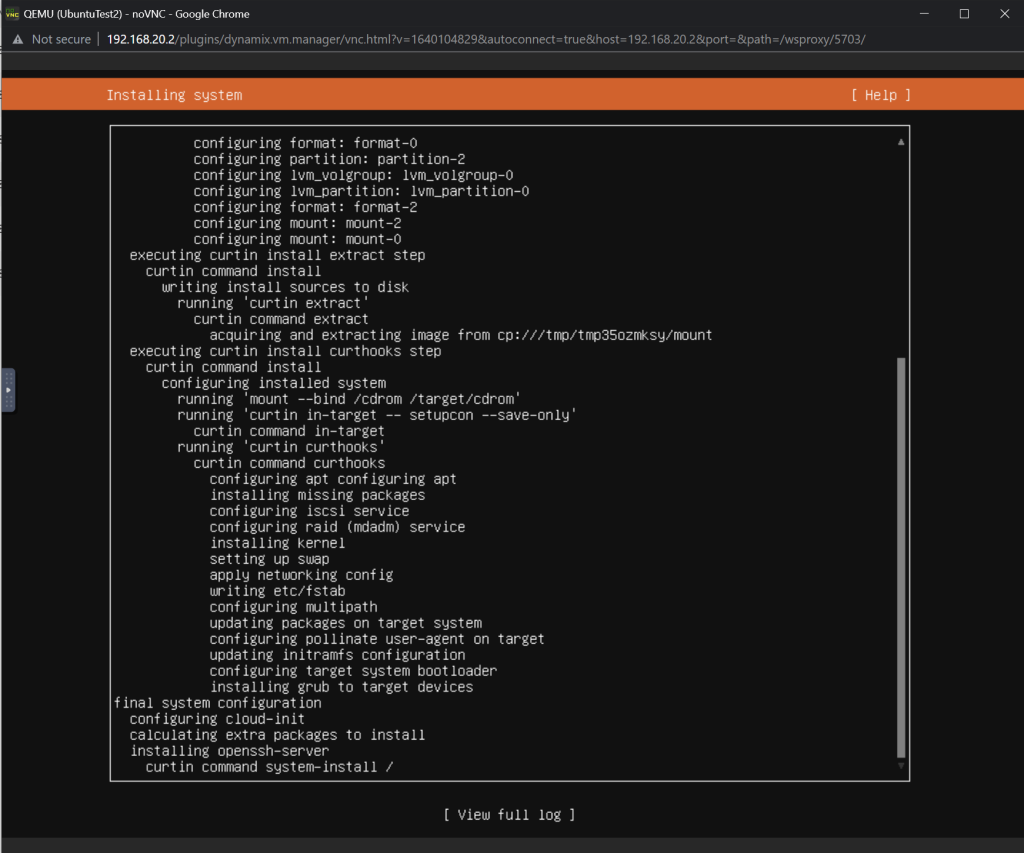
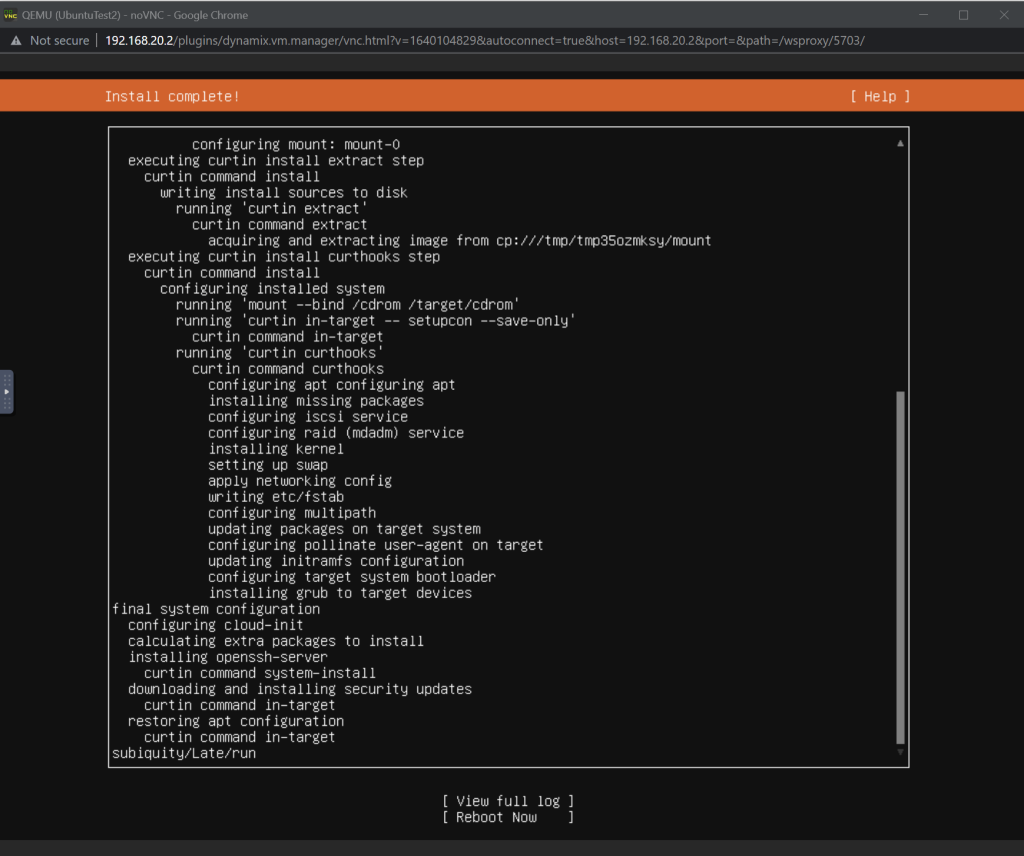
Once the installation is complete you can select Reboot Now!
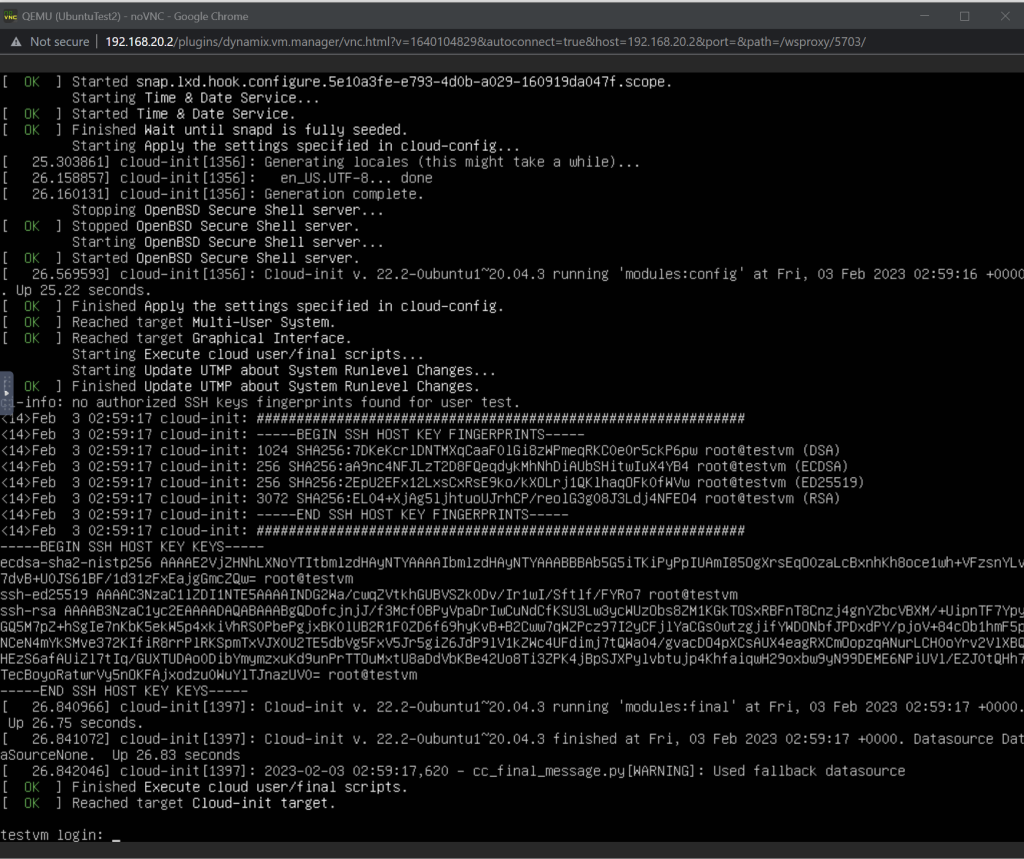
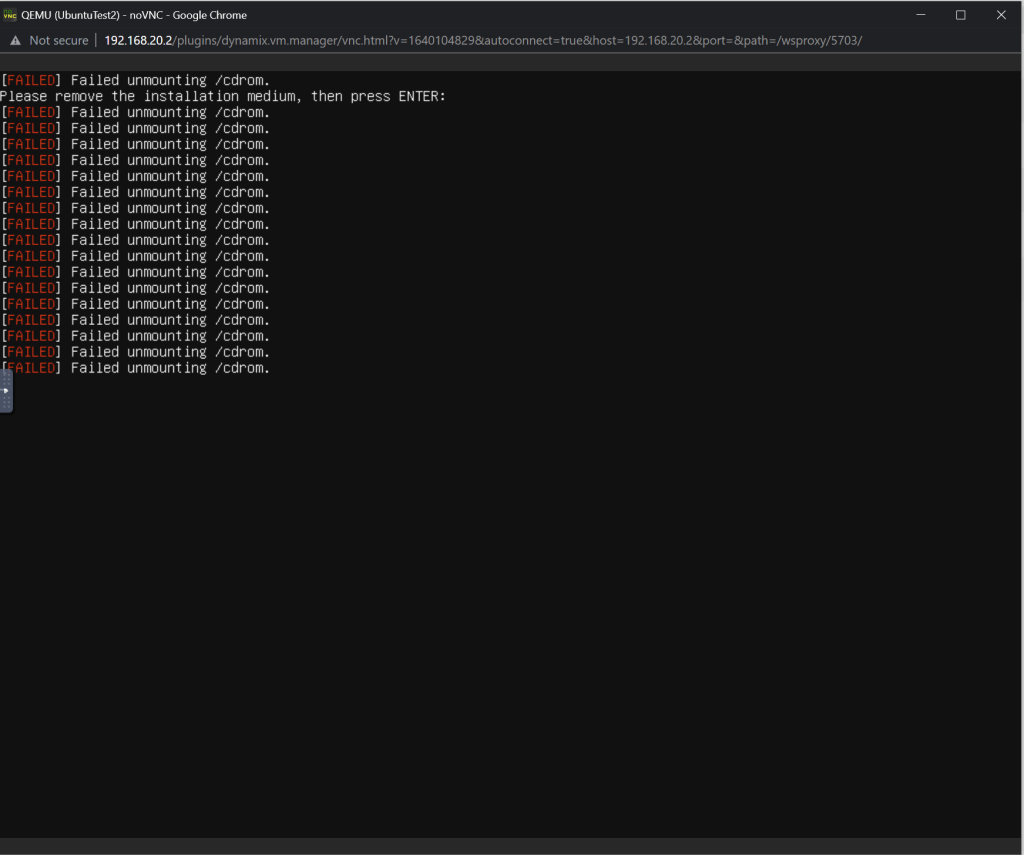
Ignore the resulting CDRom message. You can just press enter. This is totally normal.
The VM will then start booting!
Once you see the SSH tags on the first boot you can press enter for the login prompt.
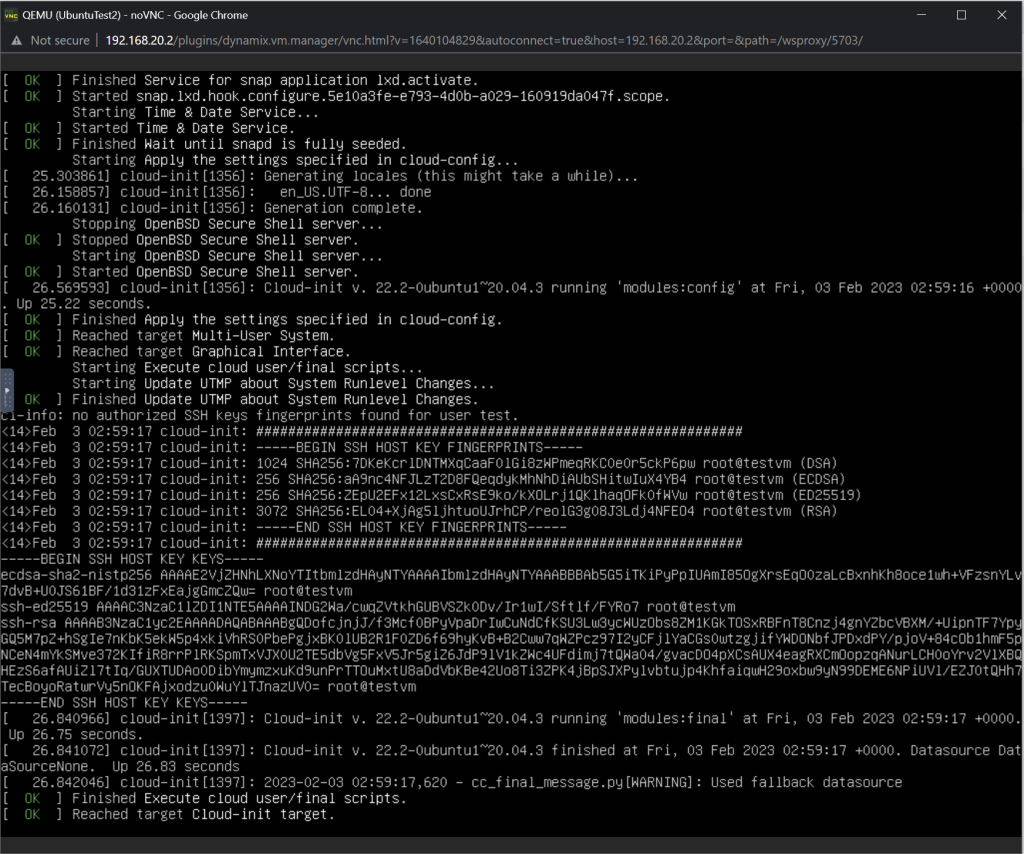
You can now login to this server and start configuring it.